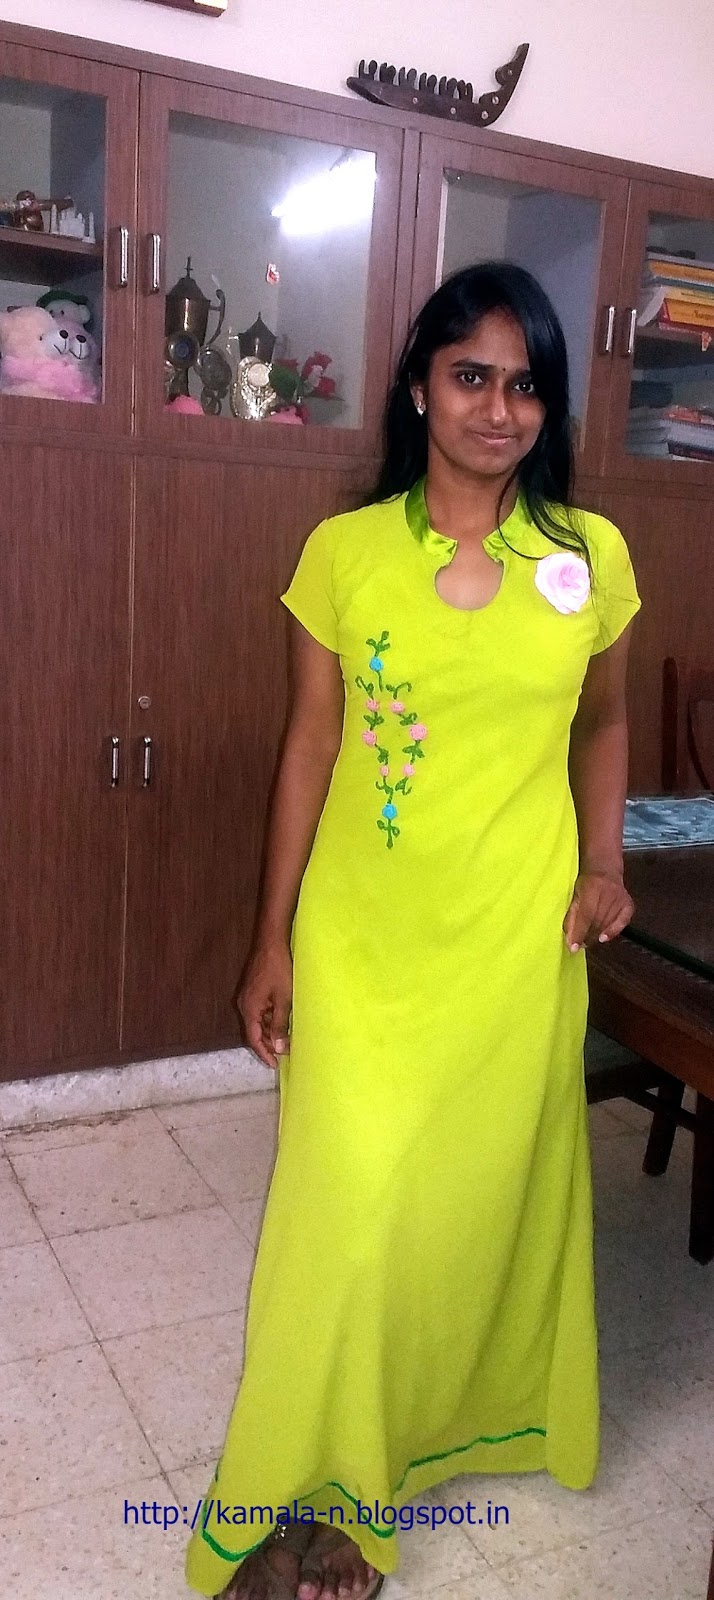
Hey friends how are you. I am back here after a long time.In this post I want to share how I stitched this simple and elegant party wear gown. I designed and sewed this gown for my daughter to wear to a party. She liked it very much. Even her friends admired it a lot. I hope you would like it and also try to sew it.


It was a great task completing this dress within a day! It was a sudden plan and my daughter wanted it for a party the next day..

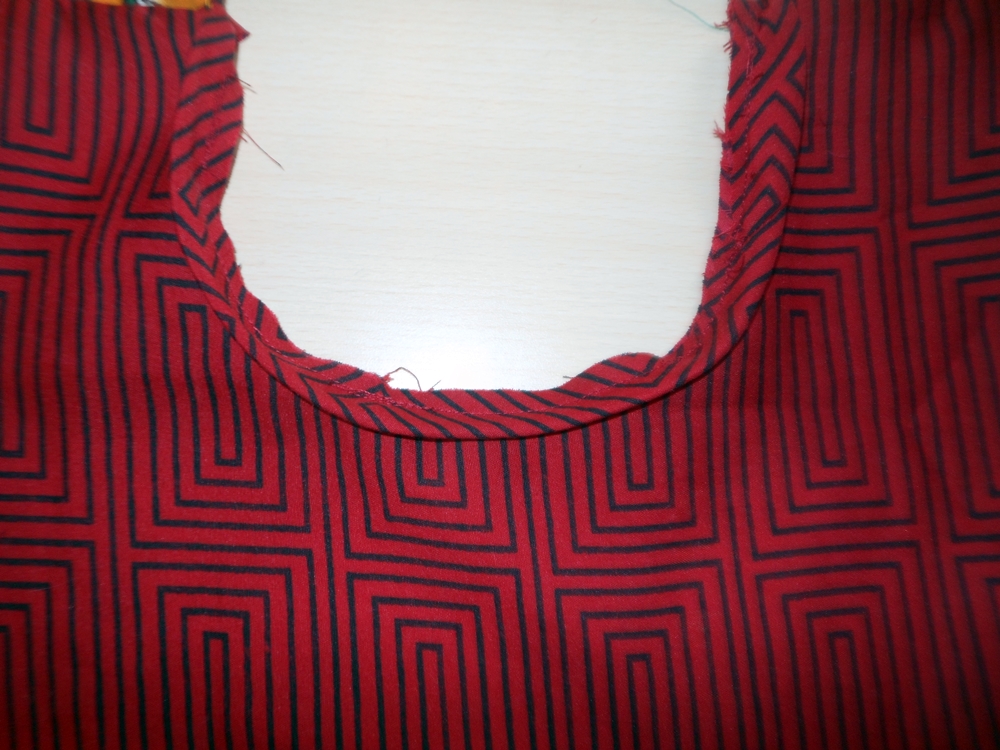
I prepared the pattern according to the body measurements I required. For the neckline, I wanted to have a mandarin collar with small curve as a continuation.
The neckline width is kept 2.5" and depth of the neckline for collar is 4". The depth of the hole (or the curve I mentioned before) is 3". Back neckline depth is 0.5". Flare of the dress at bottom measures 16". I cut the pattern on double folded paper.
 |
| Pattern |
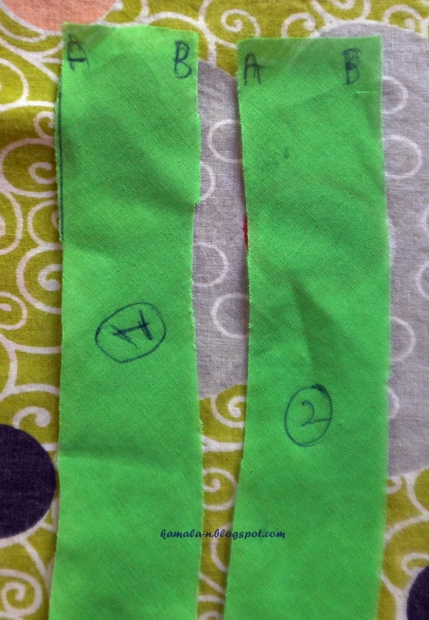
Next, I opened up the pattern and placed it on the fabric a little diagonally as in the figure below. I then cut the bodice parts separately. (Sorry, I forgot to click a photo for this step so i drew one instead so that you can get a clearer idea. :) ) I also cut the lining cloth similarly. I used Chiffon fabric for the dress and Satin fabric for the lining. These fabrics that I have used were so slippery , I had a hard time with them. So I cut the fabrics with the help of my daughter!


Firstly, I attached the front part with the lining and joined the back parts also similarly. Next I sewed the curve part below the neckline by attaching facing and then attached the shoulders. Then I stitched the collar with satin cloth and attached to the neckline.
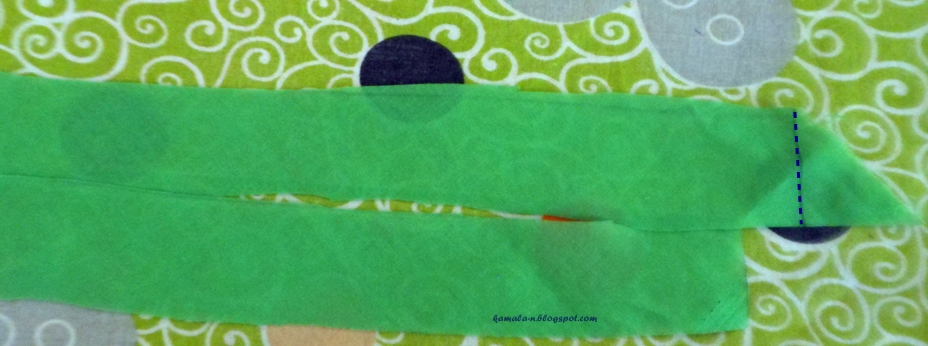
After that I attached the sleeves and joined the bodice parts along the length of the fabric. I thought of adding a velvet ribbon at the bottom and it came out of pretty well!!. On one side, I embellished with a flower (the big pink rose i bought from a local shop here) and on the other side I embroidered bullion roses with chain stitch stems and leaves. Bullion roses n the bullion knot stitch have been my daughter's favorites since she was a kid... so she insisted that I made these on her dress. :) Lastly I closed the collar with a nice button, But I took these photo before stitching the button so I cant show you!